



Robert Foss
December 01, 2017
Share this post:


Reading time:
Getting ChromiumOS building is reasonably easy, but running it under QEMU requires some work.
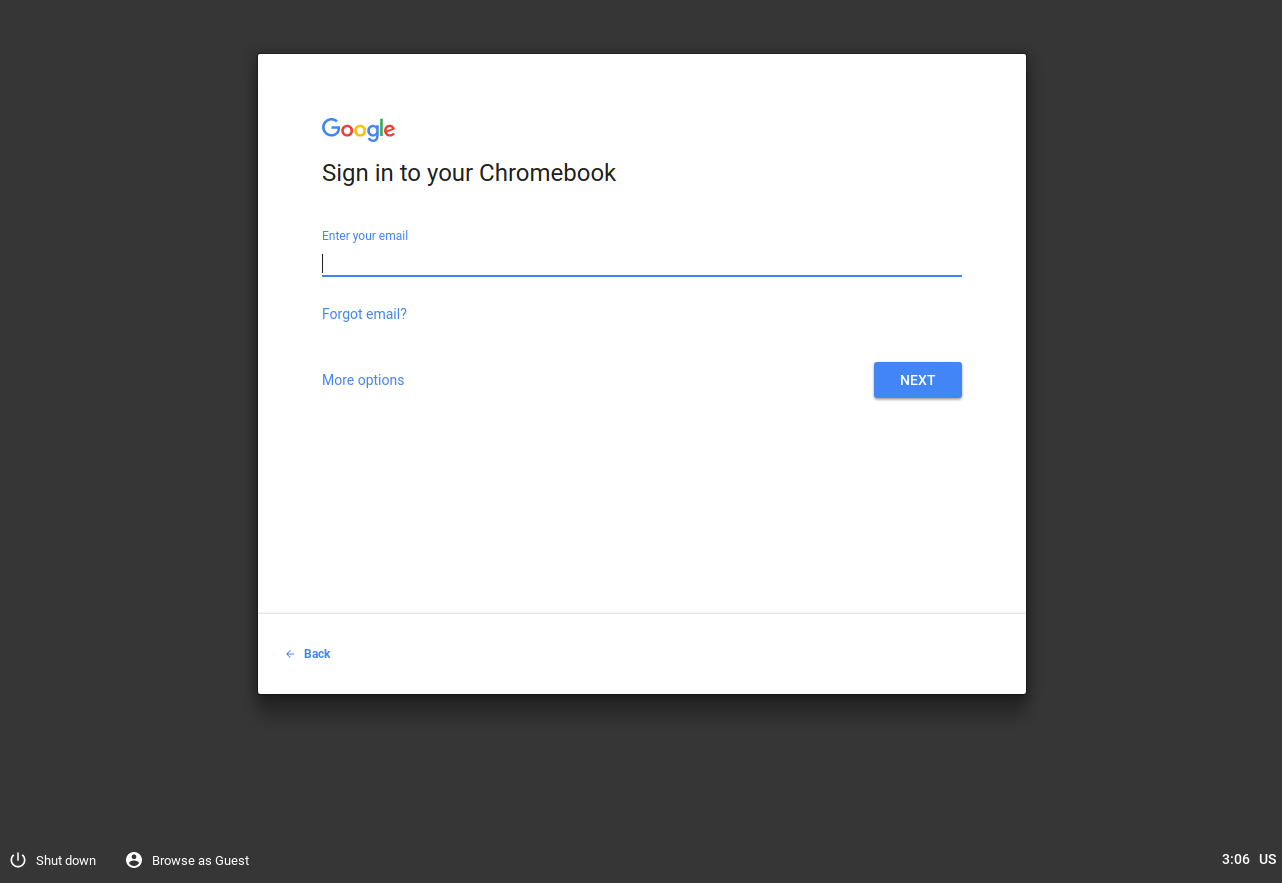
So let's start off by covering how ChromiumOS relates to ChromeOS. The ChromiumOS project is essentially ChromeOS minus branding and some packages for things like the media digital restrictions management.
But on the whole, almost everything is there, and the pieces that aren't, you don't need.
In order to check out ChromiumOS and other large Google projects, you'll need depot tools.
git clone https://chromium.googlesource.com/chromium/tools/depot_tools.git
export PATH=$PATH:$(PWD)/depot_tools
Maybe you'd want to add the PATH export to your .bashrc.
mkdir chromiumos
cd chromiumos
repo init -u https://chromium.googlesource.com/chromiumos/manifest.git --repo-url https://chromium.googlesource.com/external/repo.git [-g minilayout]
repo sync -j75
cros_sdk
export BOARD=amd64-generic
./setup_board --board=${BOARD}
./build_packages --board=${BOARD}
./build_image --board=${BOARD} --boot_args "earlyprintk=serial,keep console=tty0" --noenable_rootfs_verification test
./image_to_vm.sh --board=${BOARD} --test_image
So, this is a command baked into ChromiumOS using the cros_start_vm command, but at least on my machine it does not seem to boot properly. I have as of yet not been able to get any graphical output (over VNC).
cros_sdk
./bin/cros_start_vm --image_path=../build/images/${BOARD}/latest/chromiumos_qemu_image.bin --board=${BOARD}
So if the intended tools don't work, we'll just have to roll up our sleeves and do it ourselves. This is how I got ChromiumOS booting.
These dependencies were available on Ubuntu 17.10, some alternative packages might be needed for your distributions.
sudo apt install autoconf libaio-dev libbluetooth-dev libbrlapi-dev libbz2-dev libcap-dev libcap-ng-dev libcurl4-gnutls-dev libepoxy-dev libfdt-dev libgbm-dev libgles2-mesa-dev libglib2.0-dev libgtk-3-dev libibverbs-dev libjpeg8-dev liblzo2-dev libncurses5-dev libnuma-dev librbd-dev librdmacm-dev libsasl2-dev libsdl1.2-dev libsdl2-dev libseccomp-dev libsnappy-dev libssh2-1-dev libspice-server-dev libspice-server1 libtool libusb-1.0-0 libusb-1.0-0-dev libvde-dev libvdeplug-dev libvte-dev libxen-dev valgrind xfslibs-dev xutils-dev zlib1g-dev libusbredirhost-dev usbredirserver
Virglrenderer creates a virtual 3D GPU, that allows the QEMU guest to use the graphics capabilities of the host machine.
This step is optional, but allows for hardware accelerated OpenGL support on the guest system. If you don't want to use Virgl, remove it from the QEMU configure step and the QEMU runtime flags.
git clone git://git.freedesktop.org/git/virglrenderer
cd virglrenderer
./autogen.sh
make -j7
sudo make install
QEMU is a full system emulator, and supports a multitude of machine architectures. We're going to to use x86_64.
git clone git://git.qemu-project.org/qemu.git
mkdir -p qemu/build
cd qemu/build
../configure --target-list=x86_64-softmmu --enable-gtk --with-gtkabi=3.0 --enable-kvm --enable-spice --enable-usb-redir --enable-libusb --enable-virglrenderer --enable-opengl
make -j7
sudo make install
Now you can boot the image using QEMU.
Note that running QEMU with the virtio options requires that your host machine is running a Linux kernel which was built with the kconfig options CONFIG_DRM_VIRTIO, CONFIG_VIRT_DRIVERS and CONFIG_VIRTIO_XXXX.
cd chromiumos
/usr/local/bin/qemu-system-x86_64 \
    -enable-kvm \
    -m 2G \
    -smp 4 \
    -hda src/build/images/amd64-generic/latest/chromiumos_qemu_image.bin \
    -vga virtio \
    -net nic,model=virtio \
    -net user,hostfwd=tcp:127.0.0.1:9222-:22 \
    -usb -usbdevice keyboard \
    -usbdevice mouse \
    -device virtio-gpu-pci,virgl \
    -display gtk,gl=on
Hopefully this guide will have helped you to build all of the software needed to boot your very own ChromiumOS.
This post has been a part of work undertaken by my employer Collabora.
26/08/2026
Tyr’s latest Rust GPU kernel driver work puts GPU memory management in place, from VM binding and GPUVM to GEM-backed buffers and firmware…
07/07/2026
AI development is shifting from implementing models from scratch to composing powerful capabilities via APIs, enabling developers to integrate…
26/05/2026
New upstream BlueZ documentation helps simplify Bluetooth qualification for Linux-based products by mapping supported profiles, test requirements,…
14/05/2026
See how Tyr moves beyond MCU firmware boot to build the group, queue, VM, submission, and completion paths needed to run real Vulkan workloads…
07/05/2026
A complete breakdown of Mesa’s NIR compiler detailing how it optimizes shader memory access with SSA promotion, deref analysis, copy propagation,…
05/05/2026
Collabora brought Bluetooth Auracast broadcasting to MediaTek Genio 700 for Embedded World 2026. Here's the complete, fully Open Source…
Whether writing a line of code or shaping a longer-term strategic software development plan, we'll help you navigate the ever-evolving world of Open Source.


 한국어 버전의 Collabora.com 보기
 Acesse Collabora.com em Português